
So, you’ve got the keys to your new electric vehicle. The silence is golden, the acceleration is instant. But then you get home and reality hits. How do you actually fuel this thing? Honestly, setting up your home charging can feel like a daunting new project.
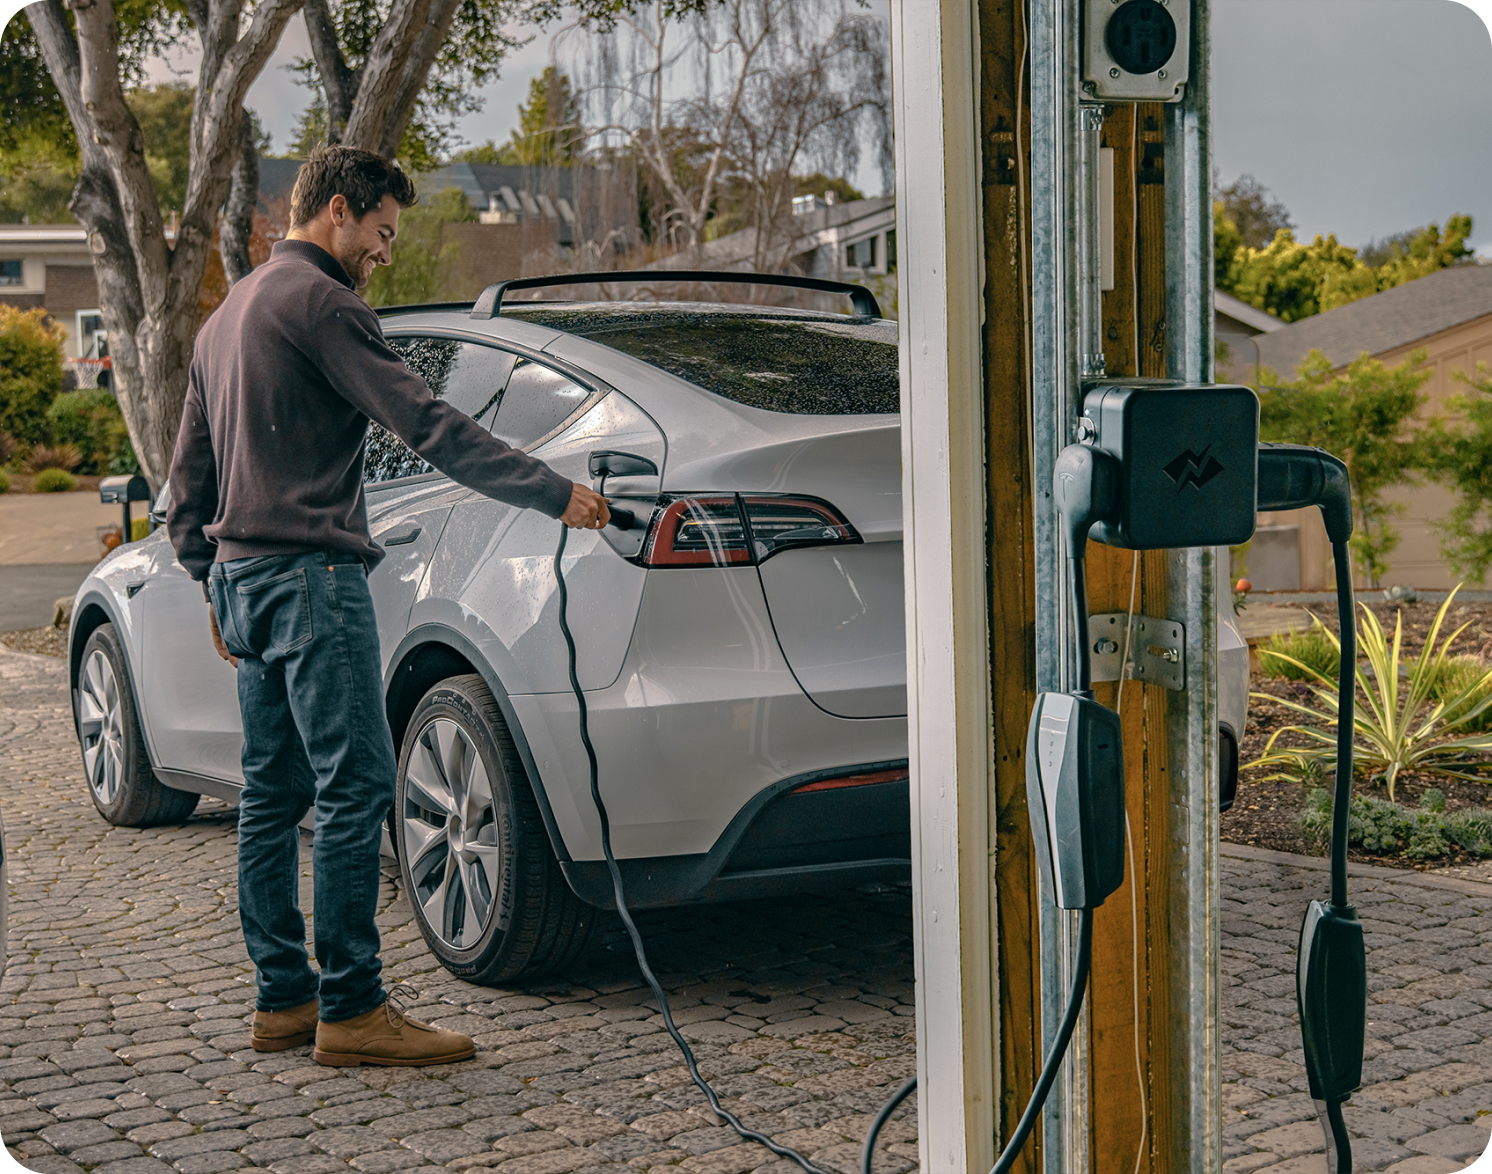
Here’s the deal: it doesn’t have to be. Think of your home charger as your EV’s personal gas station, right in your garage or driveway. No more detours. No more fluctuating public charging prices. Just pure, convenient power, ready when you are.
Let’s dive into the nuts and bolts of creating the perfect electric vehicle home charging setup. We’ll walk through everything from the gear you need to the installation quirks you might encounter.
First Things First: Understanding Your Charging Levels
Not all charging is created equal. It’s a bit like filling a pool—you can use a garden hose or a fire hose. The choice depends on your needs.
Level 1 Charging: The Slow & Steady Trickle
This is the charger that comes with your car. You simply plug it into a standard 120-volt household outlet. It’s effortless to start with, but it’s slow. Painfully slow for some.
You’re looking at about 3-5 miles of range per hour of charging. For a daily commute of 30-40 miles, an overnight charge might just about cut it. But if you wake up to a near-empty battery and have a big day planned… well, you’re going to be waiting a while.
Level 2 Charging: The Home Charging Sweet Spot
This is where the magic happens. A Level 2 charger runs on a 240-volt circuit, the same kind your dryer or oven uses. The difference in speed is night and day.
We’re talking 20-60 miles of range per hour. Most EVs can fully recharge from empty in just a handful of hours. This is the setup that truly makes EV ownership seamless. It turns your home into a true refueling hub.
The Core Components of Your EV Charging Station
Alright, so you’re leaning towards a Level 2 setup. Smart move. What do you actually need to buy? Let’s break it down.
The EVSE (“The Charger”)
Technically, the big box on the wall is called an Electric Vehicle Supply Equipment (EVSE). It’s a fancy name for a smart plug. It doesn’t actually “charge” the car; the car’s onboard charger does that. The EVSE’s job is to safely deliver power and communicate with your vehicle.
When shopping, you’ll see a few key features:
- Amperage: 16A, 32A, 40A, 48A… higher amperage means faster charging. Check what your car’s onboard charger can handle first.
- Cable Length: Measure the distance from your parking spot to the charger’s location. Get a cable longer than you think you need. Trust me on this.
- Smart Features: Wi-Fi connectivity allows for scheduling, tracking energy use, and receiving software updates. It’s not essential, but it’s a very nice perk.
The Electrical Circuit
This is the behind-the-walls part. A Level 2 charger requires a dedicated 240-volt circuit, installed by a licensed electrician. The most common setups are:
| Circuit Breaker (Amps) | Wire Gauge | Typical Max Charging Rate |
| 20A | 12 AWG | 16A |
| 30A | 10 AWG | 24A |
| 40A | 8 AWG | 32A |
| 50A | 6 AWG | 40A |
| 60A | 4 AWG | 48A |
You can’t just match the charger’s amperage to the breaker. Electrical code requires the continuous load to be only 80% of the circuit’s capacity. So a 40-amp charger needs a 50-amp breaker. It’s a crucial detail.
The Installation Process: What to Expect
This is where many people get nervous. But knowing the steps ahead of time makes it all feel much more manageable.
Step 1: The Site Assessment
A good electrician will start here. They’ll look at your electrical panel to see if it has the capacity for a new, high-demand circuit. They’ll also map out the best route to run the new wiring from the panel to your desired charger location.
This is the time to ask questions. Outdoor or indoor installation? Hardwired or plug-in? A hardwired connection is often cleaner and more robust, but a plug-in unit offers portability.
Step 2: Permits & Paperwork
Yep, your local municipality will likely require a permit for this work. A reputable electrician will handle this for you. It ensures the installation is inspected and safe, which is, you know, pretty important when dealing with this much electricity.
Step 3: The Main Event: Installation Day
The electrician will install the new circuit breaker, run the conduit and wiring, and mount the EVSE unit. The whole process can take anywhere from a few hours to a full day, depending on the complexity—like if your panel is on the opposite side of the house from your garage.
Smart Charging & Cost Savings
Once you’re plugged in, the real fun begins. A smart charger isn’t just a gadget; it’s a tool for saving money.
Many utility companies offer special EV charging time-of-use rates. This means electricity is significantly cheaper late at night when overall demand is low. You can program your charger to only run during these super off-peak hours. Waking up to a full battery and a smaller electricity bill? That’s a win-win.
You can also track your energy consumption, see your carbon savings, and even start a charging session from your phone. It turns a simple utility into a part of your smart home ecosystem.
Common Hurdles & How to Clear Them
Not every home is a perfect candidate. Let’s talk about some common roadblocks.
“My electrical panel is full.” This is a very common issue in older homes. Solutions include installing a sub-panel, using a “load management device” that shares power with another large appliance, or in some cases, a full panel upgrade.
“I rent my home / live in an apartment.” This is trickier, but not impossible. Start by having a conversation with your landlord about the long-term value it adds to the property. You might offer to share a portion of the installation cost. For apartment dwellers, the push for shared charging stations in parking garages is growing rapidly.
“The installation quote was shockingly high.” The cost is directly tied to the distance between your electrical panel and your parking spot. If the quote is high, get a second one. And remember, the federal government and many states offer tax credits or rebates that can offset a chunk of the cost for both the hardware and the installation.
The Final Connection
In the end, setting up your home EV charger is an investment. Not just in a piece of hardware, but in a new kind of freedom. It’s the freedom of never having to think about “going to get gas.” It’s the quiet confidence of starting every day with a “full tank.”
It transforms your car from a machine you occasionally refuel into an appliance you simply plug in, like your phone. And that small, daily ritual—the simple click of the connector—is what truly makes the electric future feel, well, like home.