
That showroom shine. It’s what every car owner dreams of, right? But here’s the deal: not all paint is created equal. Treating a classic single-stage finish the same way you treat a modern matte wrap is a one-way ticket to a very expensive mistake.
Honestly, the secret to a jaw-dropping detail isn’t just effort—it’s using the right process for your car’s specific skin. Let’s dive into the world of paint and get your hands-on knowledge up to speed.
Know Your Canvas: A Quick Paint Primer
Before you even touch a wash mitt, you need to know what you’re working with. Think of it like this: you wouldn’t use sandpaper to clean a silk shirt. The same logic applies here.
Clear Coat: The Modern Standard
Virtually every car made after the early 1990s has a clear coat finish. This is a transparent, hard layer of paint applied over the colored base coat. Its job? To protect the color underneath from UV rays and environmental contaminants. Your goal when detailing is to clean and protect this clear layer without cutting into it.
Single-Stage: The Classic Charm
Older cars and some modern vehicles (like certain commercial trucks) often use single-stage paint. There’s no separate clear coat; the color and the protective element are all in one. This paint can oxidize, meaning it loses its gloss and turns chalky or faded. The good news? You can often bring single-stage paint back to life with careful polishing, as you’re working directly on the pigment layer.
Matte & Satin Finishes: The High-Maintenance Beauty
Increasingly popular, matte and satin finishes have a non-reflective, flat appearance. They’re stunning. And they’re… finicky. The texture is part of the paint or clear coat itself. Using traditional waxes, sealants, or abrasive polishes will create shiny, permanent spots—utterly ruining the uniform look.
Your Detailing Playbook, Sorted by Paint Type
Detailing Clear Coat Paint (The Everyday Warrior)
This is the process most people are familiar with, but the devil is in the details.
Washing: Always use a dedicated car shampoo in a two-bucket method (one for soap, one for rinse). A grit guard in the bottom of each bucket is your best friend. It traps dirt and keeps it from getting back on your wash mitt. Start from the top and work down—the lower panels are always the dirtiest.
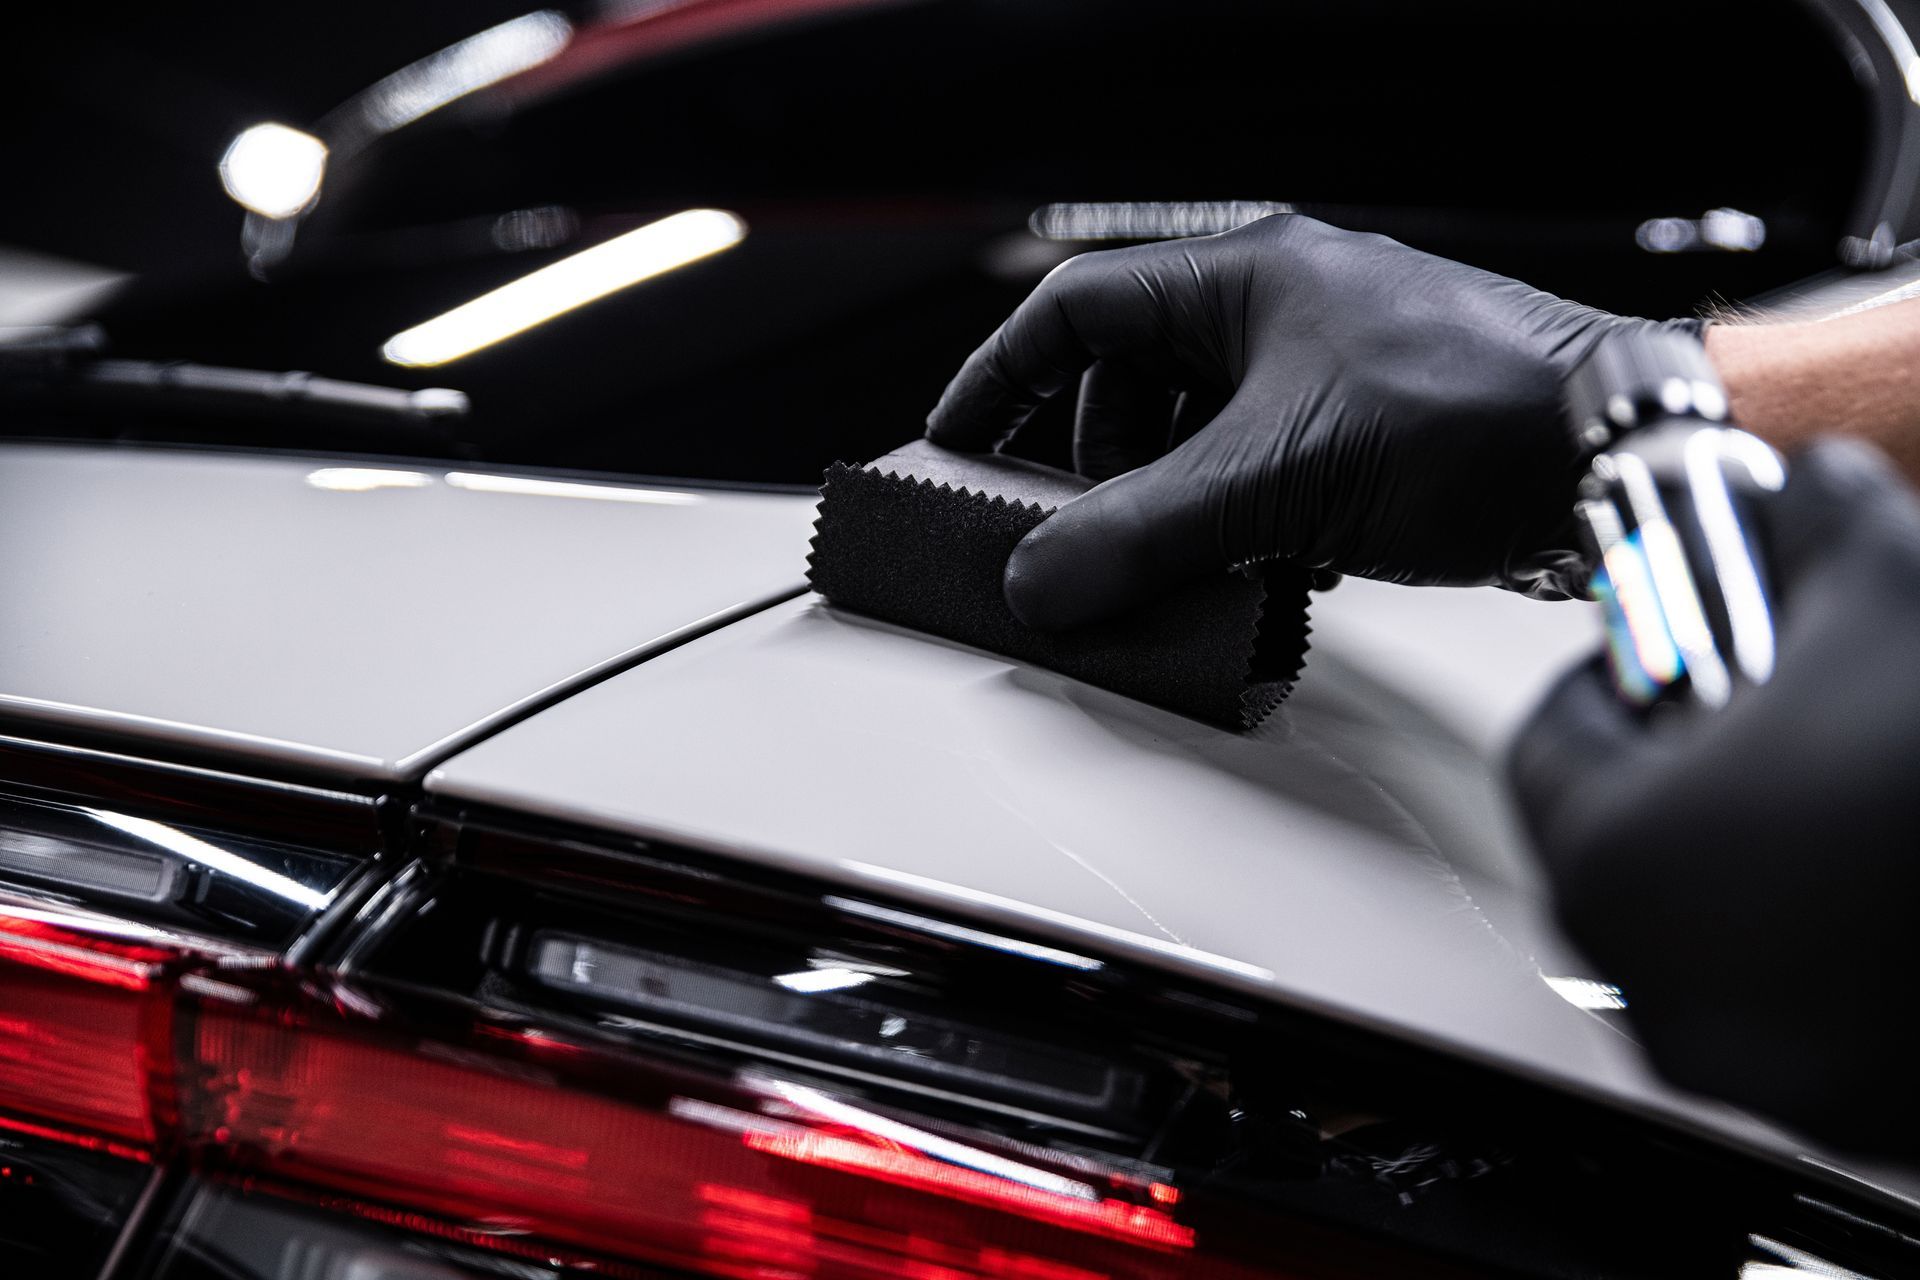
Decontamination: After washing, run your hand over the paint in a plastic bag. If it feels gritty, you need to decontaminate. Use a clay bar or a synthetic clay towel with a lubricant spray. This safely pulls out embedded industrial fallout, tree sap, and brake dust that washing alone can’t remove.
Correction & Polishing: This is where you tackle swirl marks and light scratches. For clear coat, you have options:
| Product Type | Best For | Key Consideration |
| Compound | Heavy scratches and severe oxidation | Very abrasive; often requires follow-up with a finer polish. |
| Polish | Light swirl marks, water spots, and enhancing gloss | Less abrasive; perfect for maintenance or after compounding. |
| All-in-One (AIO) | Light correction and protection in one step | A great time-saver for well-maintained vehicles. |
Always, and I mean always, start with the least aggressive method first. Test a small, inconspicuous area.
Protection: This is your final shield. You have a few choices:
- Carnauba Wax: Gives a deep, warm glow. The downside? It typically only lasts 4-8 weeks.
- Sealant (Synthetic): Offers longer protection (6+ months) and a brighter, crisper shine. Incredibly durable.
- Ceramic Coating (DIY): These are semi-permanent coatings that provide insane hydrophobic properties and chemical resistance for 1-2 years. Application requires a perfectly prepped surface.
Reviving Single-Stage Paint (The Resurrection)
Working on single-stage is a different, and honestly, a very rewarding experience. You’ll often see the color coming off on your polishing pad—that’s normal! It’s just the oxidized paint being removed to reveal the fresh color beneath.
The process is similar to clear coat, but with a few key twists:
- Washing & Decontamination: Same as above. Gentle is the name of the game.
- Testing for Oxidation: Take a small, clean microfiber towel and rub a small section of the paint firmly. If you see color transfer, you have oxidization to deal with.
- Cutting & Polishing: You’ll likely need a light to medium cutting compound to remove the dead, oxidized layer. Follow up with a fine polish to restore gloss. Because you’re working on the pigment, the results can be dramatic.
- Protection: A high-quality sealant or a natural carnauba wax works beautifully here. The goal is to lock in that newly revealed brilliance and protect it from the elements.
Caring for Matte & Satin Finishes (Handle With Care)
This is where you throw most of the conventional rulebook out the window. The core principle: clean and protect without adding gloss.
1. Washing: Use a shampoo specifically formulated for matte finishes. These are free of gloss-enhancing agents. The two-bucket method is non-negotiable—swirls on matte paint are a nightmare to fix.
2. Drying: Air drying can leave spots. You must use a soft, clean microfiber drying towel and gently pat the surface dry. No wiping with pressure.
3. The Big No-Nos: Never use wax, never use sealant (unless it’s matte-specific), and absolutely never use any kind of abrasive compound or polish. You cannot correct defects in a matte finish the way you can with glossy paint.
4. Protection: You still need it. Look for dedicated matte paint sealants or ceramic coatings. They are designed to provide a protective barrier without altering the flat, non-reflective texture of the finish.
Essential Tools & The Mindset for Success
Sure, you can use an old towel and dish soap. But if you’re investing your time, why not invest in the right tools? They make all the difference.
- Microfiber Madness: Have a stack of them. Use different, clean towels for washing, drying, applying polish, and removing wax. Cross-contamination is the enemy of a perfect finish.
- Dual-Action Polisher: For most DIYers, a DA polisher is the safest bet. It’s far less aggressive than a rotary buffer and dramatically reduces the risk of burning through the paint.
- Good Lighting: You can’t fix what you can’t see. A bright LED work light is essential for spotting swirls and contaminants.
The real secret, though, is patience. Rushing a detail job leads to cut corners and, ultimately, a less-than-stellar result. Work in small sections. Feel the paint. Pay attention to it. Your car’s finish tells a story—of road trips, of weather, of time. Detailing is simply the act of listening to that story and helping it look its very best.
It’s not just about making it clean. It’s about understanding the unique character of your vehicle’s paint and honoring it with the care it deserves. That’s where the true satisfaction lies.