

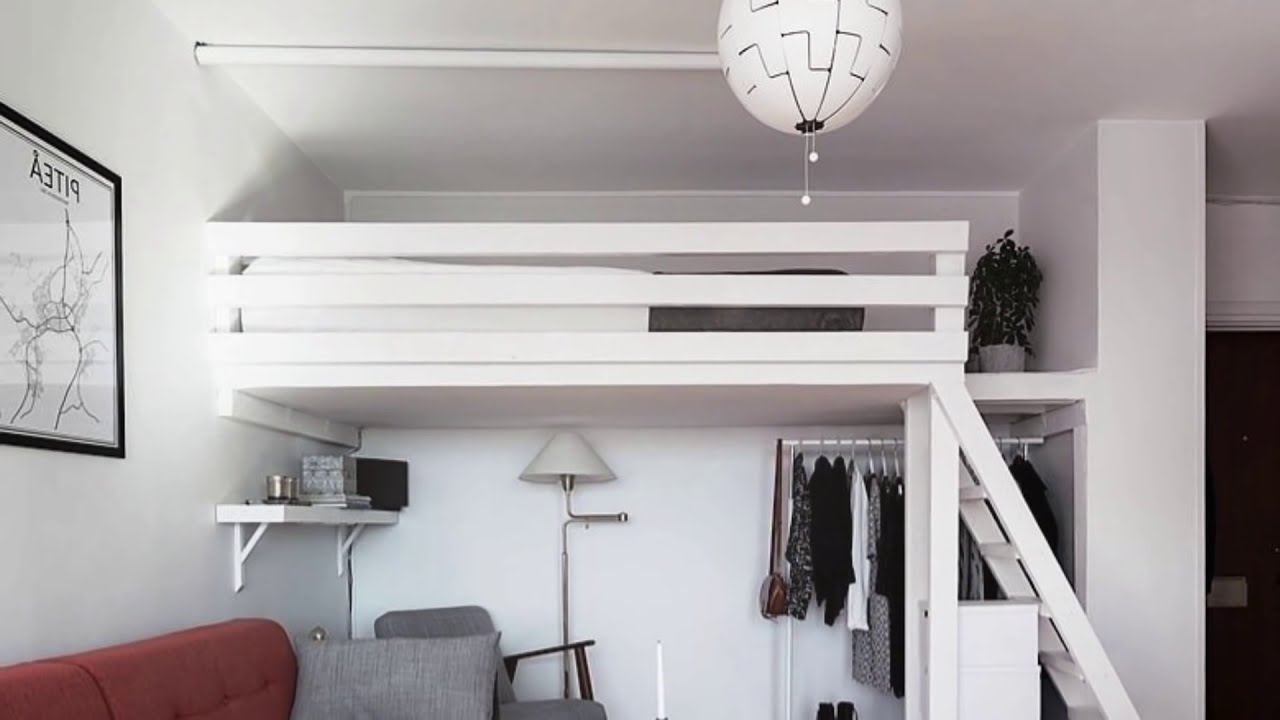
Tight spaces call for creative solutions, and a loft bed could be just the solution you’re looking for. Loft beds are all the rage for kids’ bedrooms. Underneath the loft bed, you can add storage, a play area or even a desk for completing homework in a quiet space. If you’re looking to get particularly creative or on a very tight budget, you may want to consider these steps for building your own loft bed.
1. Purchase Building Materials and Tools
Have all of the measurements you’ll need before heading to your local hardware distributors. Be sure to purchase quality lumber since you’ll want your furniture to be both aesthetically pleasing and long-lasting.
2. Cut Your Lumber
Ensure you have the proper tools for cutting the type of wood you purchased safely and effectively. Be sure to measure twice and cut once! It may be a good idea to purchase a bit of extra lumber to ensure mistakes don’t have you running back to the hardware store.
3. Start Building
First, assemble the bed frame and top rail. Next, measure and attach spacer blocks. Your next step is to attach the rails and slats and then assemble the legs. The last step before painting is to attach the legs, braces and ladder.
4. Sand and Paint
After building, you must sand and paint. Getting your little one involved in choosing the color is a nice way to involve him or her in the project.
5. Add Final Touches
Finish with adding a desk, storage drawers or toys to complete the space under the bed. Get creative!
Building your own loft bed will allow you the freedom to choose the color and style of your child’s choosing. You can finish the job by making the space beneath the bed special to his or her unique personality.